VirtualBox von Oracle ist inzwischen eine sehr gute Alternative zur VMware Workstation und zudem noch kostenlos. Die Installation unter Windows 10 ist auch recht einfach und läuft wie folgt beschrieben.
Ein paar Begrifflichkeiten für alle die sich damit gar nicht auskennen vorweg:
Host System – das ist das Betriebssystem auf dem VirtualBox installiert wird, hier also Windows10
Gast System – das ist das Betriebssystem das innerhalb der Virtualisierung läuft, also z.B. Linux oder auch ein weiteres Windows OS
Virtuelle Maschine (VM) – jede Umgebung / Gast System das in VirtualBox installiert wird, wird als VM bezeichnet
Gast Addons – bestimmte Software die für die Nutzung der Gast Systeme in VirtualBox benötigt wird und auch in den Gast Systemen installiert wird
VirtualBox unterstützte Gast Systeme
Folgende Betriebssysteme werden als Gast System innerhalb der virtuellen Maschine von Virtual Box unterstützt:
- Windows hosts:
- Windows Server 2008 (64-bit)
- Windows Server 2008 R2 (64-bit)
- Windows 7 (32-bit and 64-bit)
- Windows 8 (32-bit and 64-bit)
- Windows 8.1 (32-bit and 64-bit)
- Windows 10 RTM build 10240 (32-bit and 64-bit)
- Windows Server 2012 (64-bit)
- Windows Server 2012 R2 (64-bit)
- Windows Server 2016 (64-bit)
- Mac OS X hosts (64-bit):
- 10.10 (Yosemite)
- 10.11 (El Capitan)
- 10.12 (Sierra)
- 10.13 (High Sierra)
- Linux hosts (32-bit and 64-bit[3]). Among others, this includes:
- Ubuntu 14.04 LTS, 16.04 LTS, and 17.04
- Debian GNU/Linux 7 („Wheezy“), 8 („Jessie“) and 9 („Stretch“)
- Oracle Enterprise Linux 5, Oracle Linux 6 and 7
- Redhat Enterprise Linux 5, 6 and 7
- Fedora 25 and 26
- Gentoo Linux
- openSUSE 13.2
VirtualBox 5.2 Installation
Benötigt werden lokale Administrator Rechte oder ein entsprechender Account.
Download unter: http://download.virtualbox.org/virtualbox/5.2.0/VirtualBox-5.2.0-118431-Win.exe
- Ausführen der Installationsdatei -> weiter
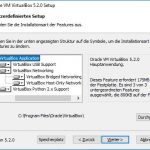
- Auswahl von USB Support, Netzwerkadapter und Python sowie den Installationspfad -> weiter
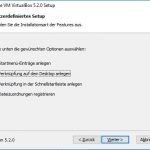
- festlegen der Verknüpfungen und Systemeinträge
- Hinweis auf Netzwerktrennung
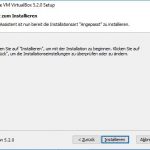
- Start der eigentlichen Installation -> Installieren
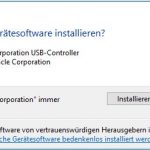
- Zustimmen der Installation des USB-Controller
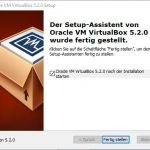
- Abschluss der Installation
- Startseite von VirtualBox 5.2

VirtualBox 5.2 GUI
Nun kann die erste virtuelle Maschine installiert werden. Hierfür wird normalerweise eine .iso Datei der jeweiligen Distribution heruntergeladen und verwendet. Wichtig sei noch erwähnt, dass im Anschluss der Gast Installation das Oracle VM VirtualBox Extension Pack installiert werden sollte.
Thats it …
Interessiert in verschiedenste IT Themen, schreibe ich in diesem Blog über Software, Hardware, Smart Home, Games und vieles mehr. Ich berichte z.B. über die Installation und Konfiguration von Software als auch von Problemen mit dieser. News sind ebenso spannend, sodass ich auch über Updates, Releases und Neuigkeiten aus der IT berichte. Letztendlich nutze ich Taste-of-IT als eigene Dokumentation und Anlaufstelle bei wiederkehrenden Themen. Ich hoffe ich kann dich ebenso informieren und bei Problemen eine schnelle Lösung anbieten. Wer meinen Aufwand unterstützen möchte, kann gerne eine Tasse oder Pod Kaffe per PayPal spenden – vielen Dank.
